Why Does My Crochet Basket Keep Curling? 7 Easy Fixes That Actually Work
Why Does My Crochet Basket Keep Curling? This is a common question many crochet beginners ask when their basket edges start bending, curling, or losing shape. The good news is that most curling problems are easy to fix with the right techniques. Why Is My Crochet Basket Curling? 7 Easy Fixes for a Perfect Basket…
Why Does My Crochet Basket Keep Curling? This is a common question many crochet beginners ask when their basket edges start bending, curling, or losing shape. The good news is that most curling problems are easy to fix with the right techniques.
Why Is My Crochet Basket Curling? 7 Easy Fixes for a Perfect Basket Shape
Let me guess. You just set your basket down, sat back to admire it, and instead of that neat little shape you had in your head, the edges are curling up at you like it’s trying to fold itself shut.
Sound about right?
I’ve been there more times than I want to admit. Years of designing patterns, and there’s still one basket sitting in my memory that humbled me completely. I followed the pattern. Counted every stitch, twice. Used yarn I genuinely loved. And somehow I ended up with something that looked less like a basket and more like a shy little bowl trying to hide from me.
Here’s what I want you to know before we go any further: your basket isn’t broken, and you haven’t done anything unfixable. Curling is just your stitches telling you something specific happened along the way. Once you learn to read that message, this stops being a mystery and starts being something you can fix in minutes, not hours.
So if you’re sitting there right now with a half-finished basket in your lap and “why is my crochet basket curling” typed into Google out of pure late-night frustration, pull up a chair. Grab your coffee. Let’s figure this out together, one honest reason at a time.
Your Base Isn’t Growing Fast Enough
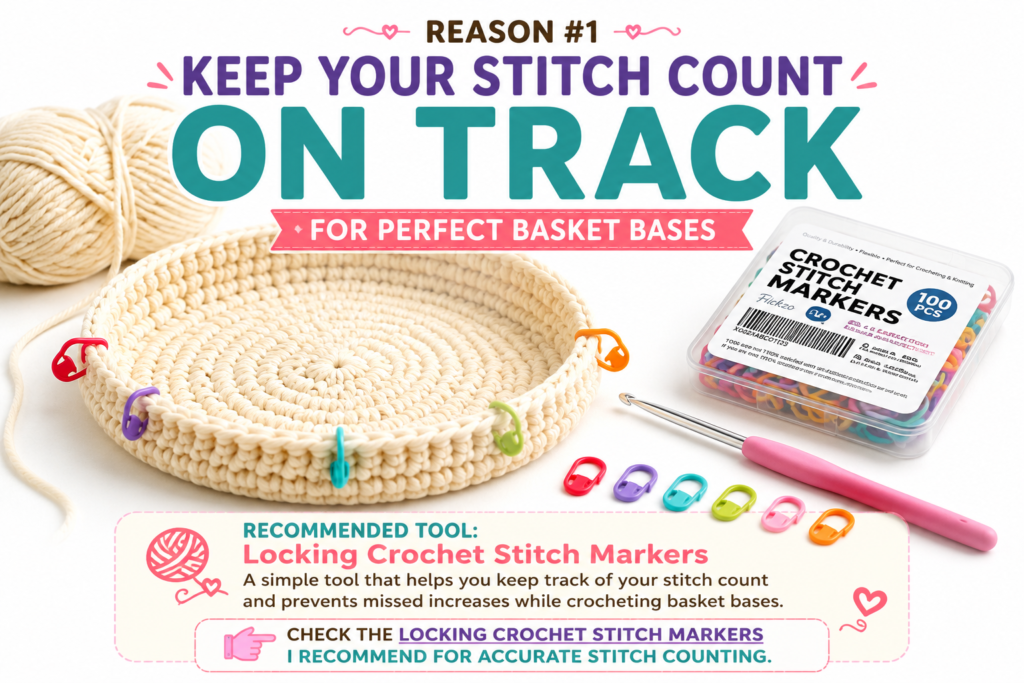
Almost every curling basket I’ve ever helped troubleshoot starts in the same place: the base, long before the walls even enter the picture. A crochet base needs to expand at a very particular pace to lie flat. Think of ripples spreading out from a stone dropped into a pond, steady and even. Your stitches need that same rhythm, round after round.
When the base can’t keep up with that pace, it doesn’t have room to spread out flat, so it curls upward instead, forming a shallow bowl right under your hands. Here’s the tricky part: it rarely feels wrong while you’re making it. Somewhere around round four or five, things might look a little snug, maybe slightly domed, and you tell yourself it’ll even out later.
It almost never does. The earlier that shortfall happens, the more it compounds as you keep working outward, because every round after that is trying to compensate for a problem it didn’t cause.
Can I be honest about something most beginners don’t hear out loud? It’s completely normal to look at your stitch count, think “that seems like a lot,” and quietly skip an increase just to make it feel more manageable. I understand the instinct. But that one skipped stitch is usually the whole reason your base misbehaves three rounds later.
Here’s the easy part, though. Every couple of rounds, lay your work flat on the table in front of you. If it won’t sit flat and wants to cup upward instead, that’s your answer. Stop right there, count against your pattern, and rip back to the last round that was genuinely flat. It’s a little tedious in the moment, but nothing compared to unraveling an entire finished basket later.
🧶 Recommended Tool: Locking Crochet Stitch Markers – A simple tool that helps you keep track of your stitch count and prevents missed increases while crocheting basket bases.
👉 Check the Locking Crochet Stitch Markers I Recommend for Accurate Stitch Counting.
You’re Actually Increasing a Little Too Much
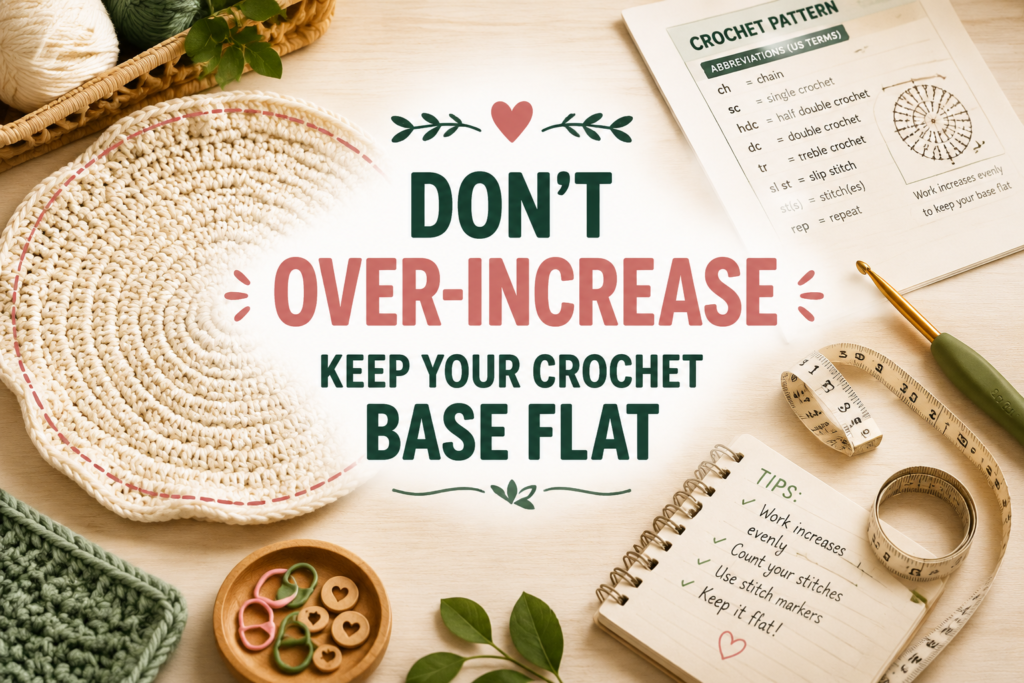
The opposite mistake can look almost identical from across the room, which is what makes it so easy to miss. Instead of too few increases, sometimes there are too many, and your base ends up with more fabric than it knows what to do with. That extra material has to go somewhere, so instead of curling inward like a bowl, it ripples outward at the edges, almost like the frilly edge of a lettuce leaf.
From a distance, that ruffle can pass for curling, which is exactly why so many crocheters “fix” the wrong problem entirely. My earliest version of this mistake came from comparing my circle to a photo online. It looked smaller than I expected, so I convinced myself I was behind and started sneaking in extra stitches to catch up.
Turns out, it was supposed to look small at that stage. A flat circle grows in a specific, proportional way, almost like a fan opening one careful notch at a time. Trusting that math instead of your eyes is one of the biggest shifts that turns a frustrated beginner into a confident basket maker.
If you’re seeing rippling instead of a smooth curve, stick strictly to a consistent, evenly spaced increase pattern, and resist the itch to squeeze in extra stitches “just in case.” If it’s already rippled, unravel back a round or two to where it was still lying flat, then continue from there. Small correction. Completely different basket.
Turns out, it was supposed to look small at that stage. A flat circle grows in a specific, proportional way, almost like a fan opening one careful notch at a time. Trusting that math instead of your eyes is one of the biggest shifts that turns a frustrated beginner into a confident basket maker.
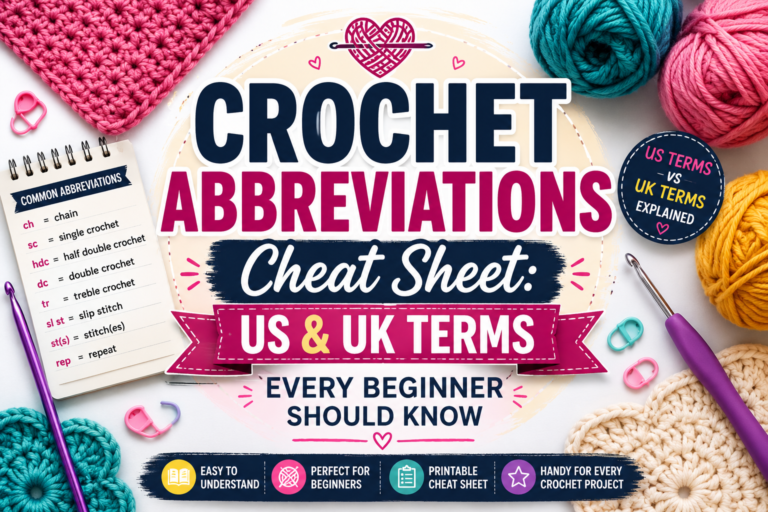
👉 Read our Crochet Abbreviations Cheat Sheet for Beginners to follow patterns with confidence.
Your Yarn Isn’t Built for This Job
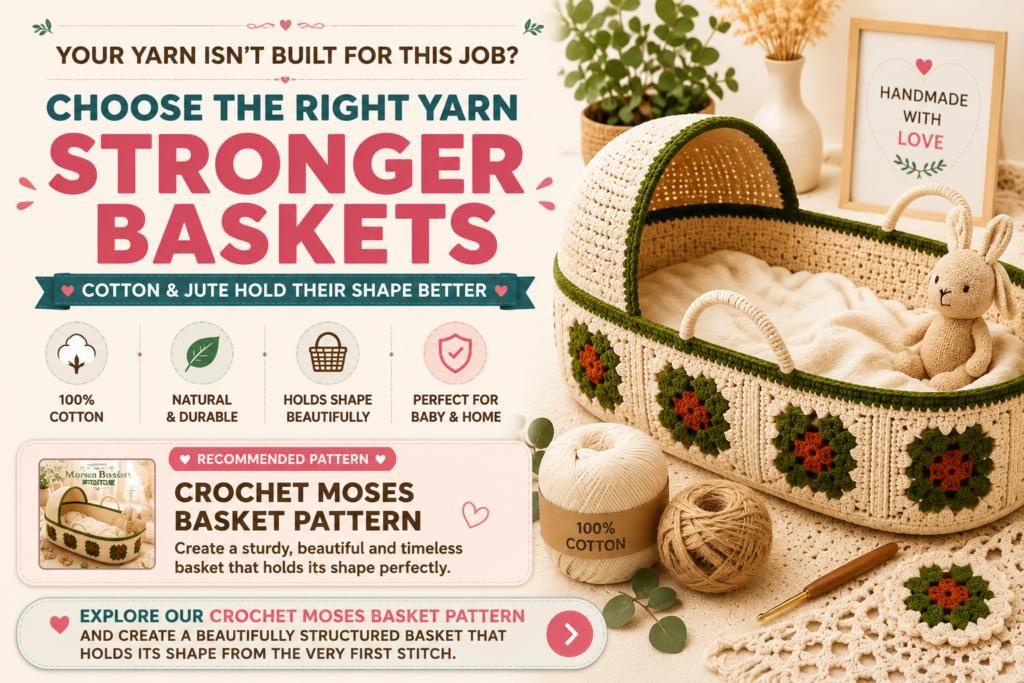
Sometimes the problem has nothing to do with your stitch count at all, and everything to do with what’s sitting in your hands right now. Soft, drapey yarns, the kind of basic acrylic worsted weight so many of us reach for out of habit, are wonderful for blankets and scarves. But that same softness that makes a blanket feel cozy works against you when you’re asking fabric to stand upright and hold its own shape.
Without enough body in the fibers, your basket’s walls simply don’t have the backbone to stay standing. They lean, slouch, and curl unpredictably, no matter how carefully you followed every stitch. Think of it like trying to build a fence out of ribbon instead of wood. It’s not that the ribbon is bad. It’s just the wrong material for standing on its own.
The real fix is reaching for a yarn known for holding its shape, like cotton, jute, or a basket-weight cotton blend, since their fibers start out stiffer. And if you’re set on a softer yarn for the color or feel, you’re not stuck. Holding two strands together as you work, or tucking a simple liner like plastic canvas or fabric stiffener inside your finished basket, can give it exactly the structure it’s missing on its own.
🧺 Recommended Pattern
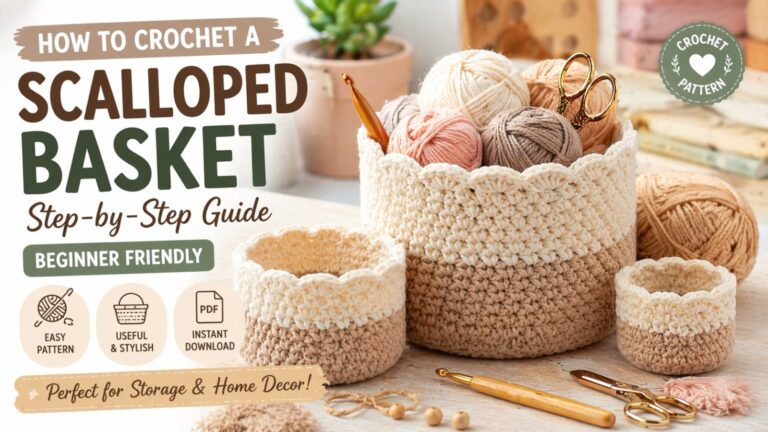
Crochet Moses Basket Pattern – A sturdy basket starts with the right materials and the right design. Our Crochet Moses Basket Pattern is created to work beautifully with structured yarns like cotton, helping you make a basket that’s both durable and beautifully shaped.
Your Tension Is Too Loose
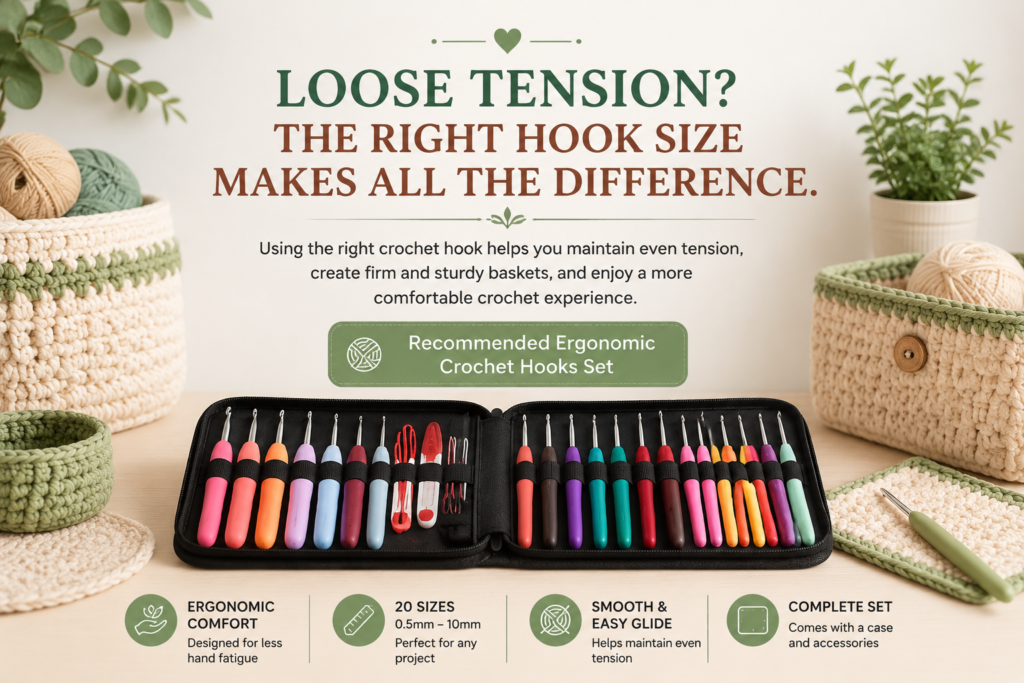
Tension trips up more beginners than almost anything else, and it’s rarely explained well. Loose tension means there’s a little too much space between your stitches, and that space is exactly what keeps the fabric from staying rigid. It’s the difference between a tightly woven basket that stands proud on its own and a piece of fabric that folds wherever gravity tells it to.
The first basket I ever gave away as a gift taught me this the hard way. I’d crocheted the whole thing with the same easy, relaxed tension I use for blankets. It looked lovely in my hands. The moment I set it on a table, it slouched like it had given up entirely.
That’s the thing about loose tension: it hides while your hands are supporting the shape in your lap, and only shows itself once the piece has to stand on its own. Try going down a hook size from what your pattern suggests, especially for the base and lower walls, where structure matters most, and pay attention to whether you’re working your walls with the same looseness as the rest of the piece. Walls usually need just a touch more firmness to hold themselves upright. If you want a quick gut check before committing to a whole project, work a small test swatch first. If you can easily slide a finger through your stitches without resistance, size down and try again.
Sometimes loose tension isn’t just about technique—it can also come from using the wrong crochet hook. A comfortable ergonomic crochet hook gives you better control, helps maintain even tension, and reduces hand fatigue during long crochet sessions. If you’re struggling to keep your basket firm and consistent, upgrading to a quality hook set can make a noticeable difference.
👉 See My Recommended Ergonomic Crochet Hooks Set
You Changed Stitches Without Adjusting Anything Else
This one sneaks up on crocheters right as they’re starting to feel confident, which is a little ironic. Once you know a few stitches, it’s tempting to mix things up mid-project, maybe switch from single crochet to half double crochet partway up the walls because it feels faster or more interesting.
The trouble is that different stitches have different heights and different amounts of natural give. Switch stitches without adjusting your increases or tension to match, and that transition point becomes a weak spot. The fabric pulls unevenly right where the stitch changed, and that pull often shows up as curling right at the seam.
I learned this on a basket I was designing on the fly, no pattern, just instinct. I switched stitches about halfway up out of boredom, and sure enough, an odd little wave appeared right around the transition, like the basket remembered changing its mind partway through.
Stick to one main stitch for your walls unless your pattern specifically calls for a change. If you do switch stitches for texture or design reasons, add a single round of plain single crochet right at the transition point first, like a buffer that lets the fabric settle before asking it to behave differently.
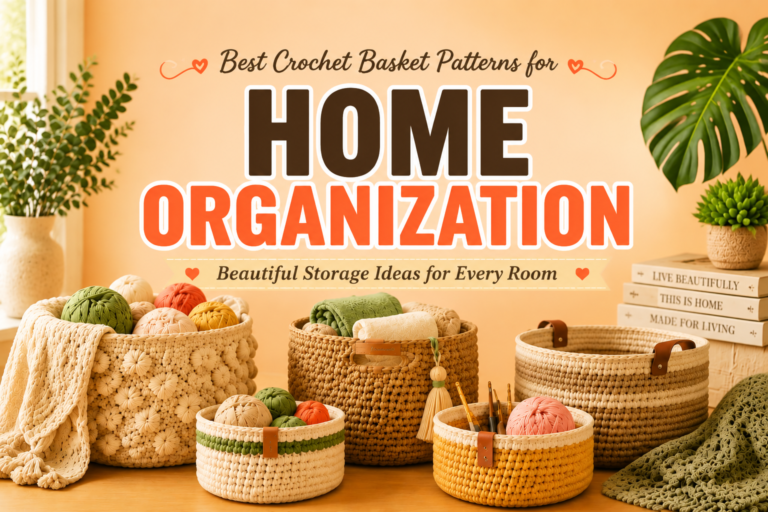
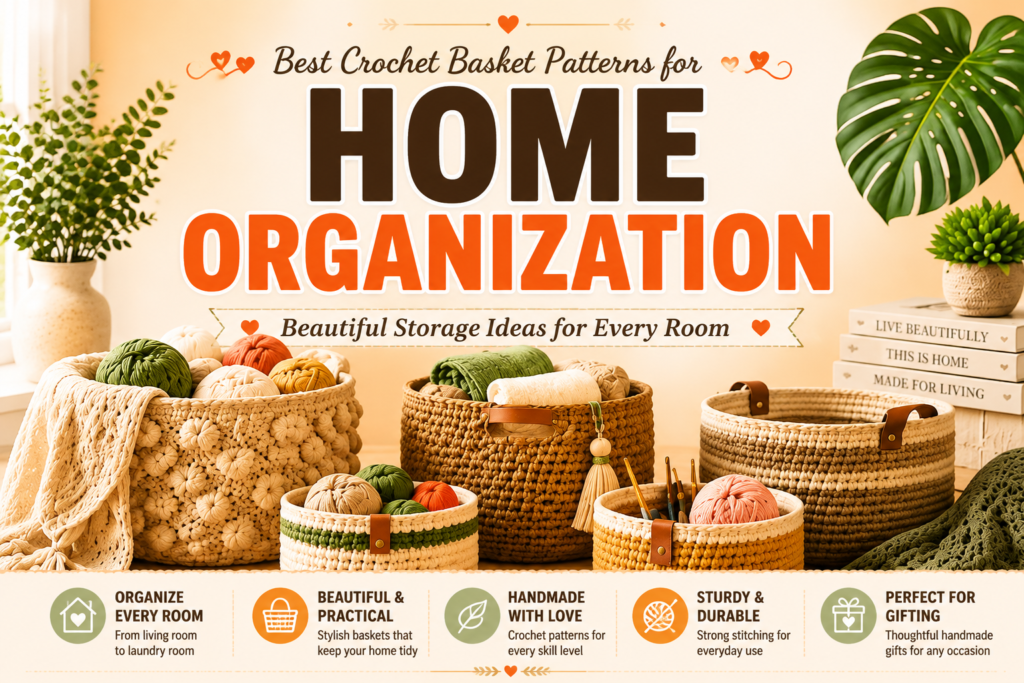
If you’d like to see how well-shaped crochet baskets can transform a space, take a look at our Best Crochet Basket Patterns for Home Organization. These practical basket designs are perfect for organizing every room while showing how proper finishing and shaping create a clean, sturdy, and professional-looking result.
👉 Explore our Best Crochet Basket Patterns for Home Organization.
You Skipped Blocking
Be honest with me. Have you ever finished a project and just called it done? No steam, no shaping, straight from hook to shelf? I get it. Blocking feels like an extra step reserved for fancy garments, not something a simple basket needs.
But blocking is the process of shaping your finished piece with a little steam or moisture, and it lets the fibers relax into the shape you actually want instead of whatever shape they happened to dry into on their own. Skip it, and any natural curl already living in your yarn or your stitch pattern stays locked in place.
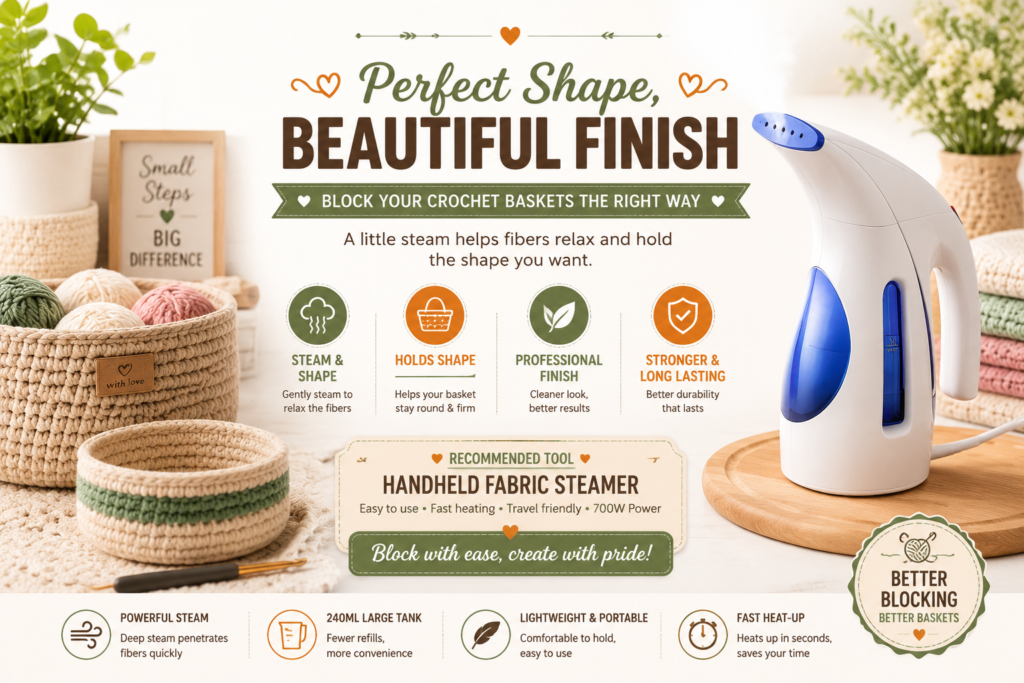
I used to skip this step constantly with cotton, until I noticed how differently my baskets behaved once I started lightly steaming them. It’s one of those small habits that makes a bigger difference than it has any right to. Lightly steam block your finished basket, or dampen it and shape it around a bowl while it dries. For extra help holding a round shape, stuff a plastic bag or rolled towel inside while it’s still damp. It sounds almost too simple to matter, but it genuinely trains the fibers to hold the shape long term.
Blocking is an important finishing step that helps your crochet basket keep its shape. A little steam or moisture allows the fibers to relax and removes unwanted curling. Using a handheld fabric steamer can help you shape your basket into a cleaner, more professional finish.
👉 Check this handheld fabric steamer for better crochet shaping results.
Your Base Shape Doesn’t Match Your Project
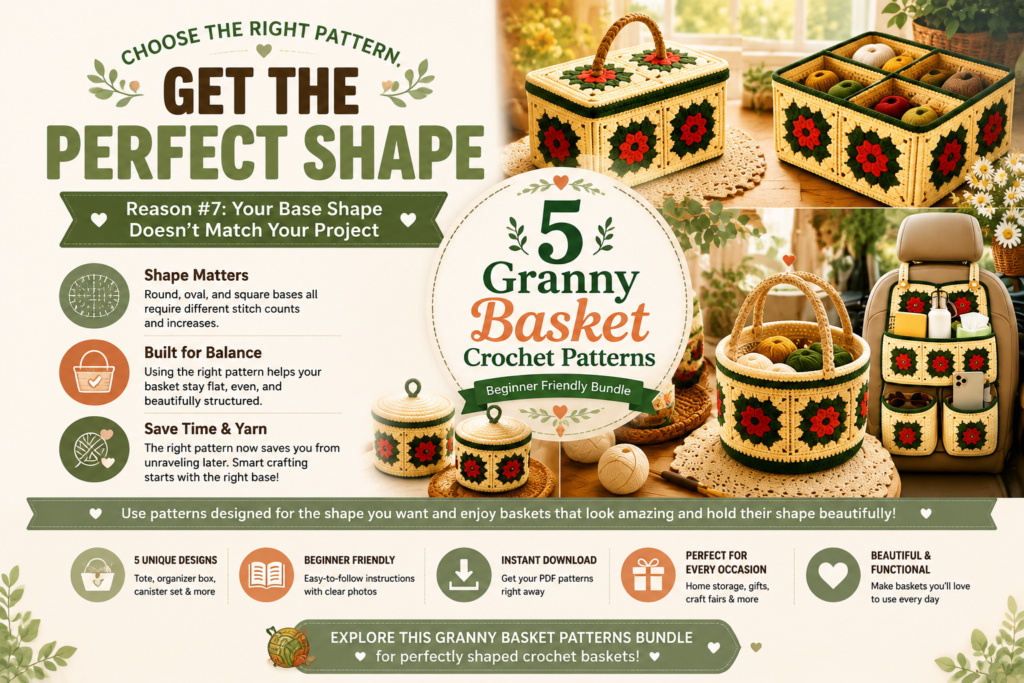
Sometimes, gently, the curling isn’t a mistake at all. It’s a mismatch between the base you built and the basket you were trying to make. An oval base crocheted like a circle, or a square base missing its corner increases, is going to warp, because the stitch counts simply don’t support that shape.
This usually happens when someone falls for a round pattern and decides to “make it oval” without recalculating anything, or grabs a square base and treats the corners the same as the rest of the rounds. It feels like such a small tweak in the moment. But base shapes each carry their own internal logic, and bending that logic without adjusting the stitch counts is where things go sideways.
If you’re after a different shape, your best move is finding a pattern actually designed for it, rather than improvising your way there. Less creative in the moment, maybe. But it saves you from unraveling a project you were excited about.
Choosing the right basket pattern makes a big difference in the final shape and structure. This Granny Basket Patterns Bundle includes different designs created with proper shaping techniques, helping you make beautiful baskets that stay balanced and functional.
👉 Explore this Granny Basket Patterns Bundle for perfectly shaped crochet baskets.
A Few Quick Questions I Hear All the Time
A Few Quick Questions I Hear All the Time
Why does a basket curl at the top but look fine at the bottom? Usually your tension shifted somewhere along the way, often because your hands tired as you worked upward. Check those upper rounds first.
Can a finished basket still be fixed? In most cases, yes. Blocking is your first move, especially with cotton, and for stubborn curling, a round of reverse single crochet around the top edge adds just enough stability to hold things in place.
Does hook size really matter that much? More than you’d expect. Even a half-millimeter smaller can tighten your stitches just enough to stop curling before it starts, especially at the base.
Are some yarns really more prone to curling? Yes. Acrylic and superwash wool stretch more and hold less memory, so they curl more easily than cotton or jute, which naturally want to hold their shape.
Before You Go
If there’s one thing I hope you remember after reading this, it’s that a curling basket isn’t a sign you’ve failed. It’s simply your crochet giving you feedback.
Every experienced crocheter has made these same mistakes, myself included. The difference isn’t that experienced makers never get curling baskets. It’s that they’ve learned how to spot the problem early and fix it before it ruins the project.
So the next time your basket starts curling, don’t panic. Put it on the table. Take a closer look. Your stitches are trying to tell you something—and now you know exactly how to listen.
Happy crocheting!
Ready to put these tips into practice? Explore our beginner-friendly crochet basket patterns and create a sturdy, beautiful basket with confidence.