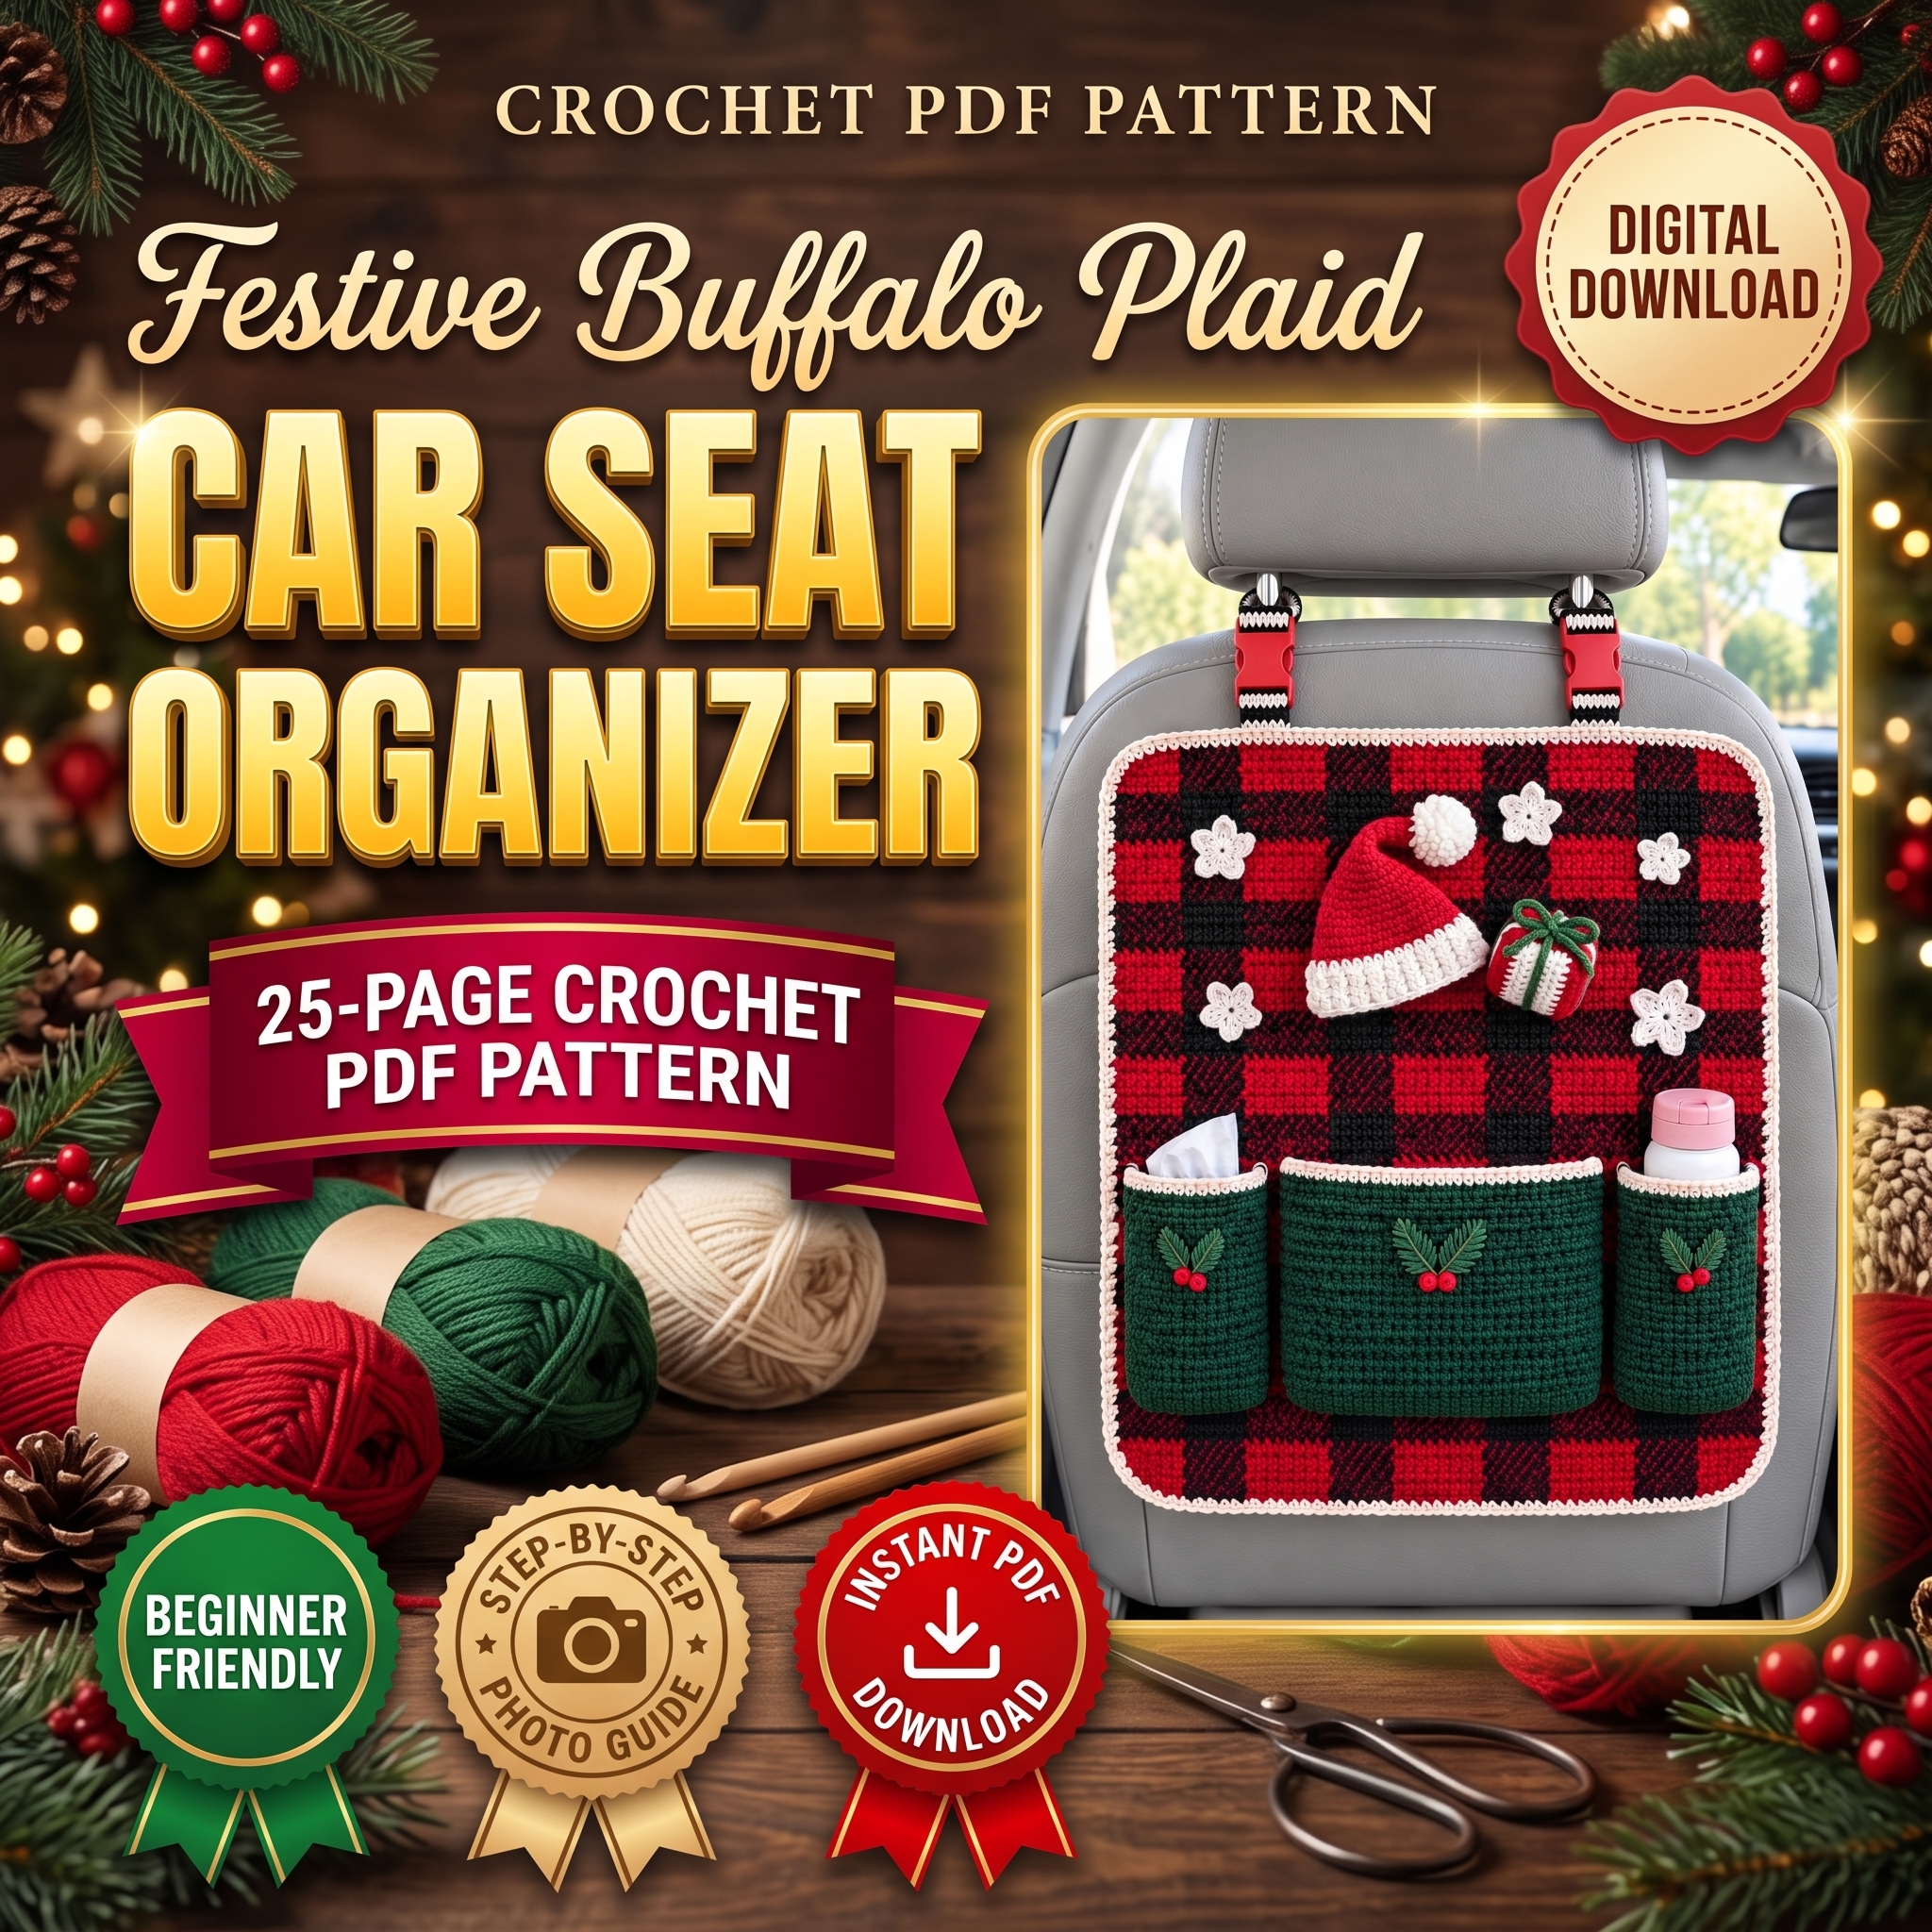
Buffalo Plaid Car Seat Organizer Crochet Pattern PDF – 25-Page Beginner Holiday Guide
Original price was: $6.99.$4.89Current price is: $4.89.
Transform your car with the Buffalo Plaid Car Seat Organizer Crochet Pattern PDF.
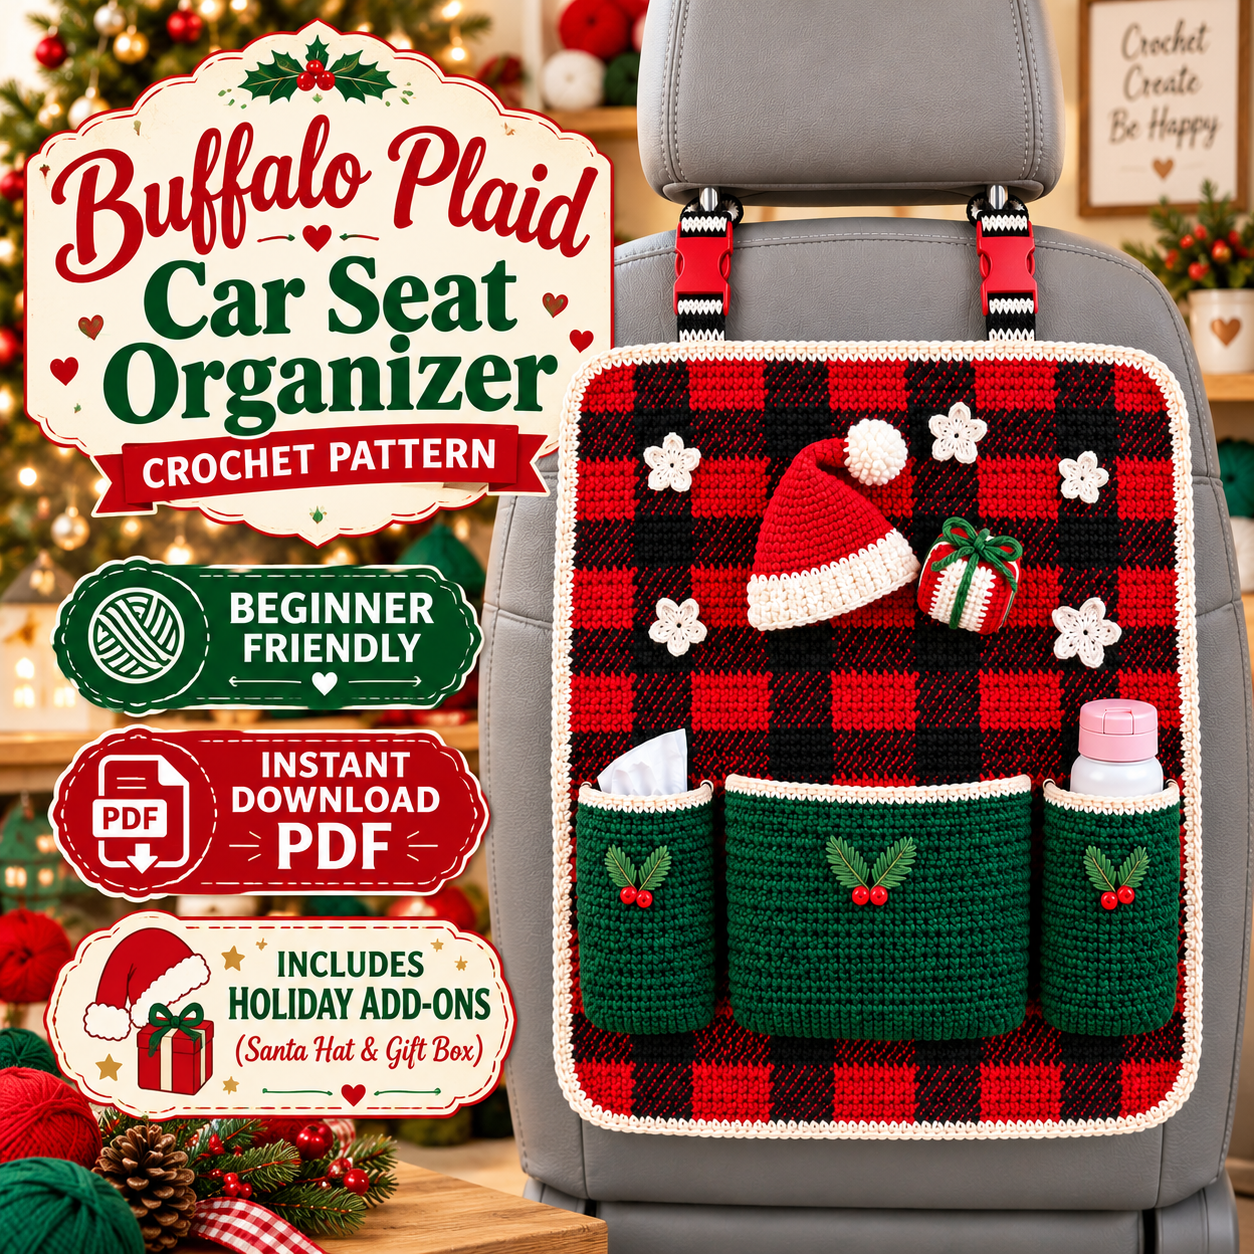
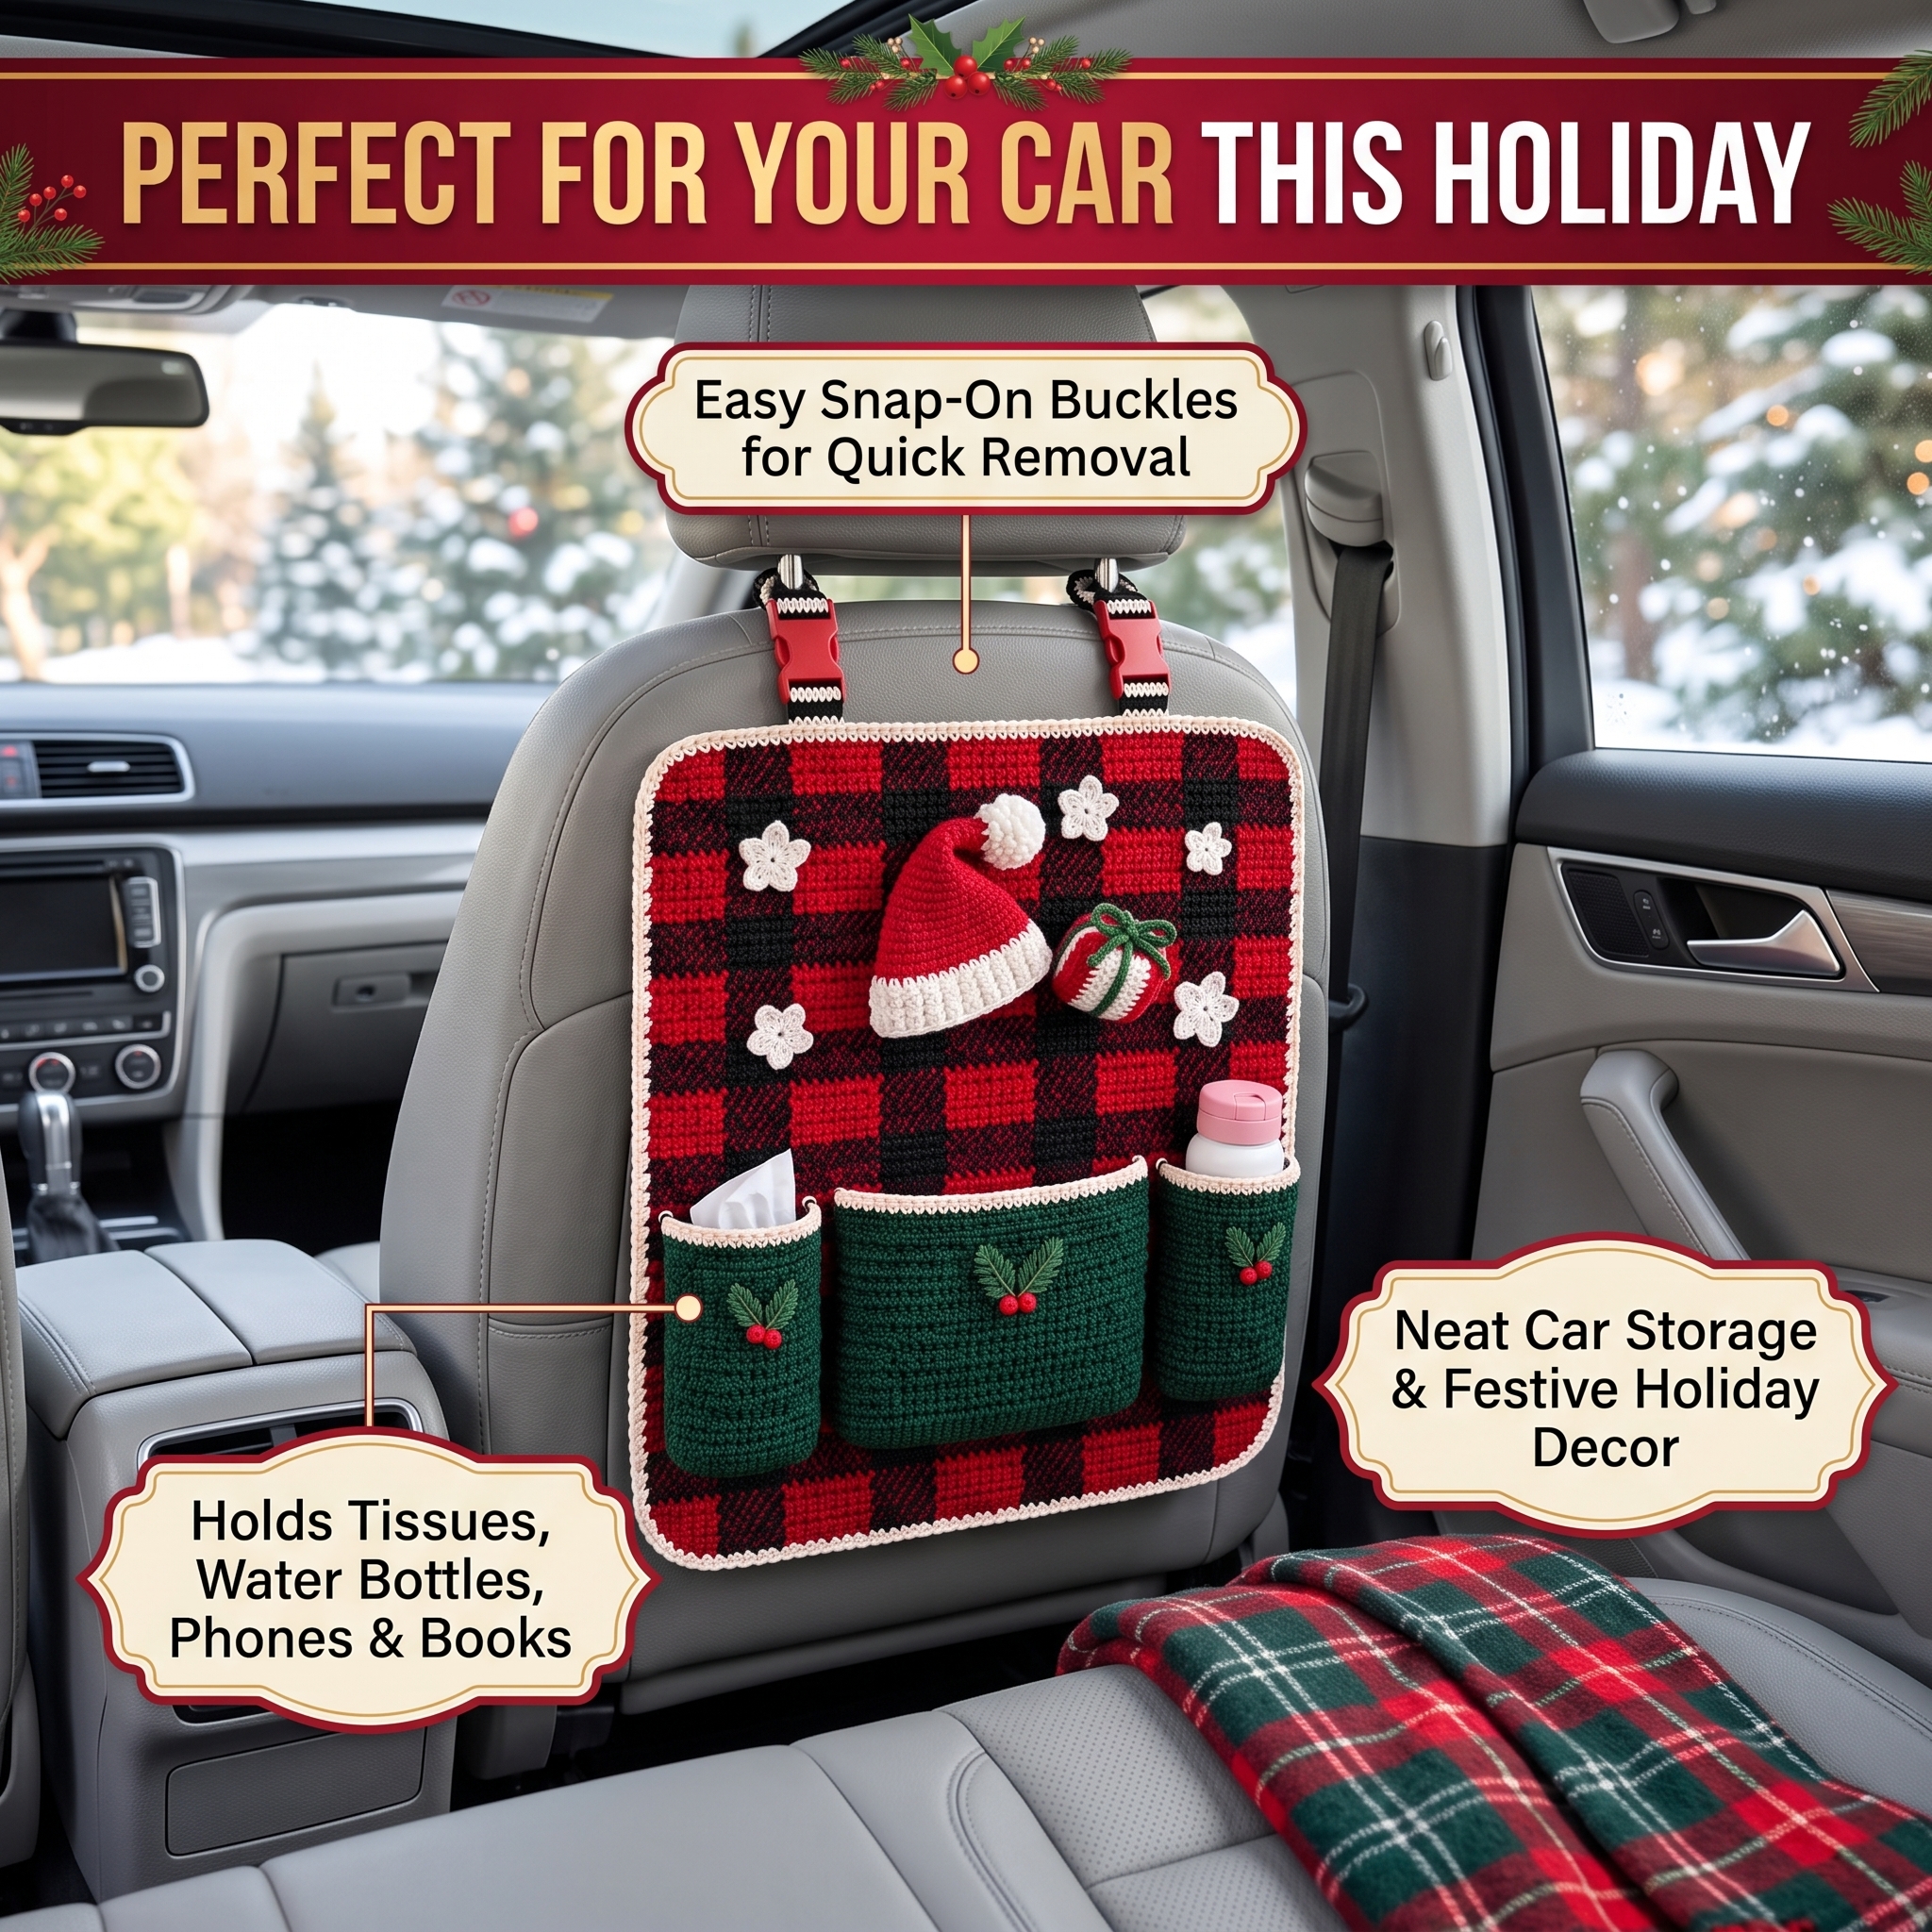
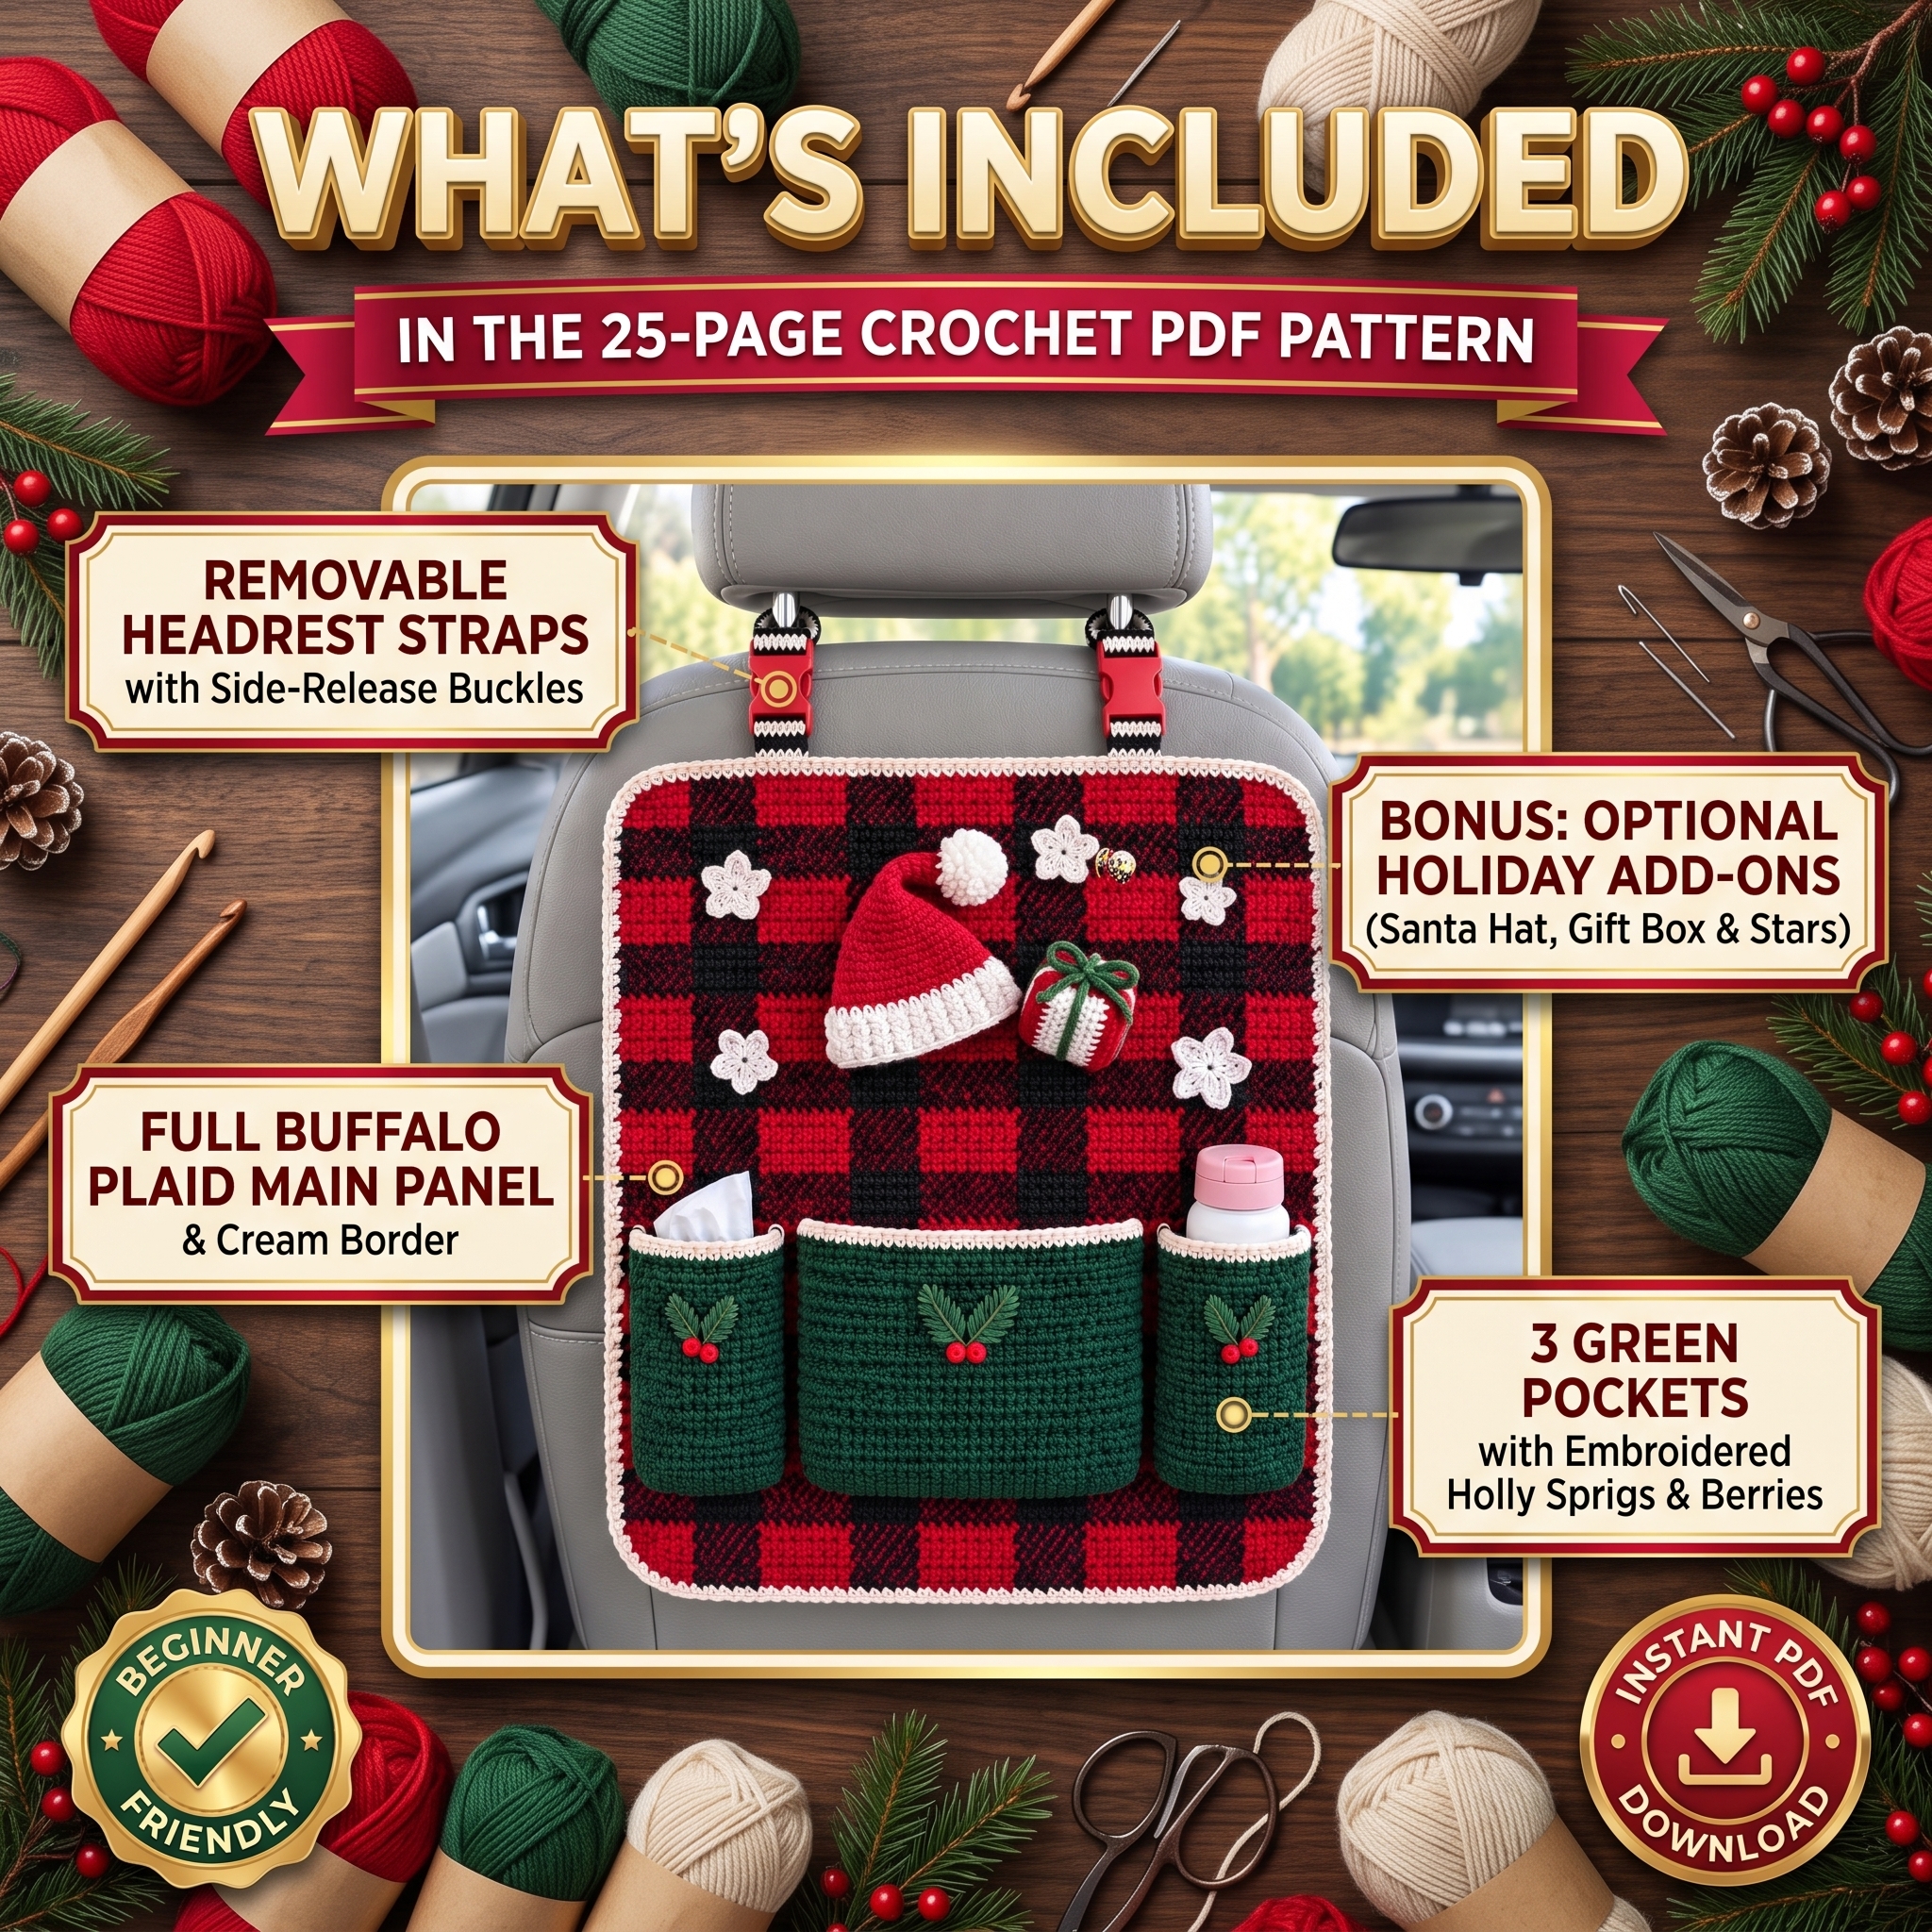
This comprehensive 25-page beginner-friendly guide walks you through creating a stunning holiday-themed auto storage caddy. Featuring a classic red and black plaid body, green holly pockets, sturdy headrest strap buckles, and optional festive holiday add-ons, it is perfect for cozy winter travel and smart vehicle organization.
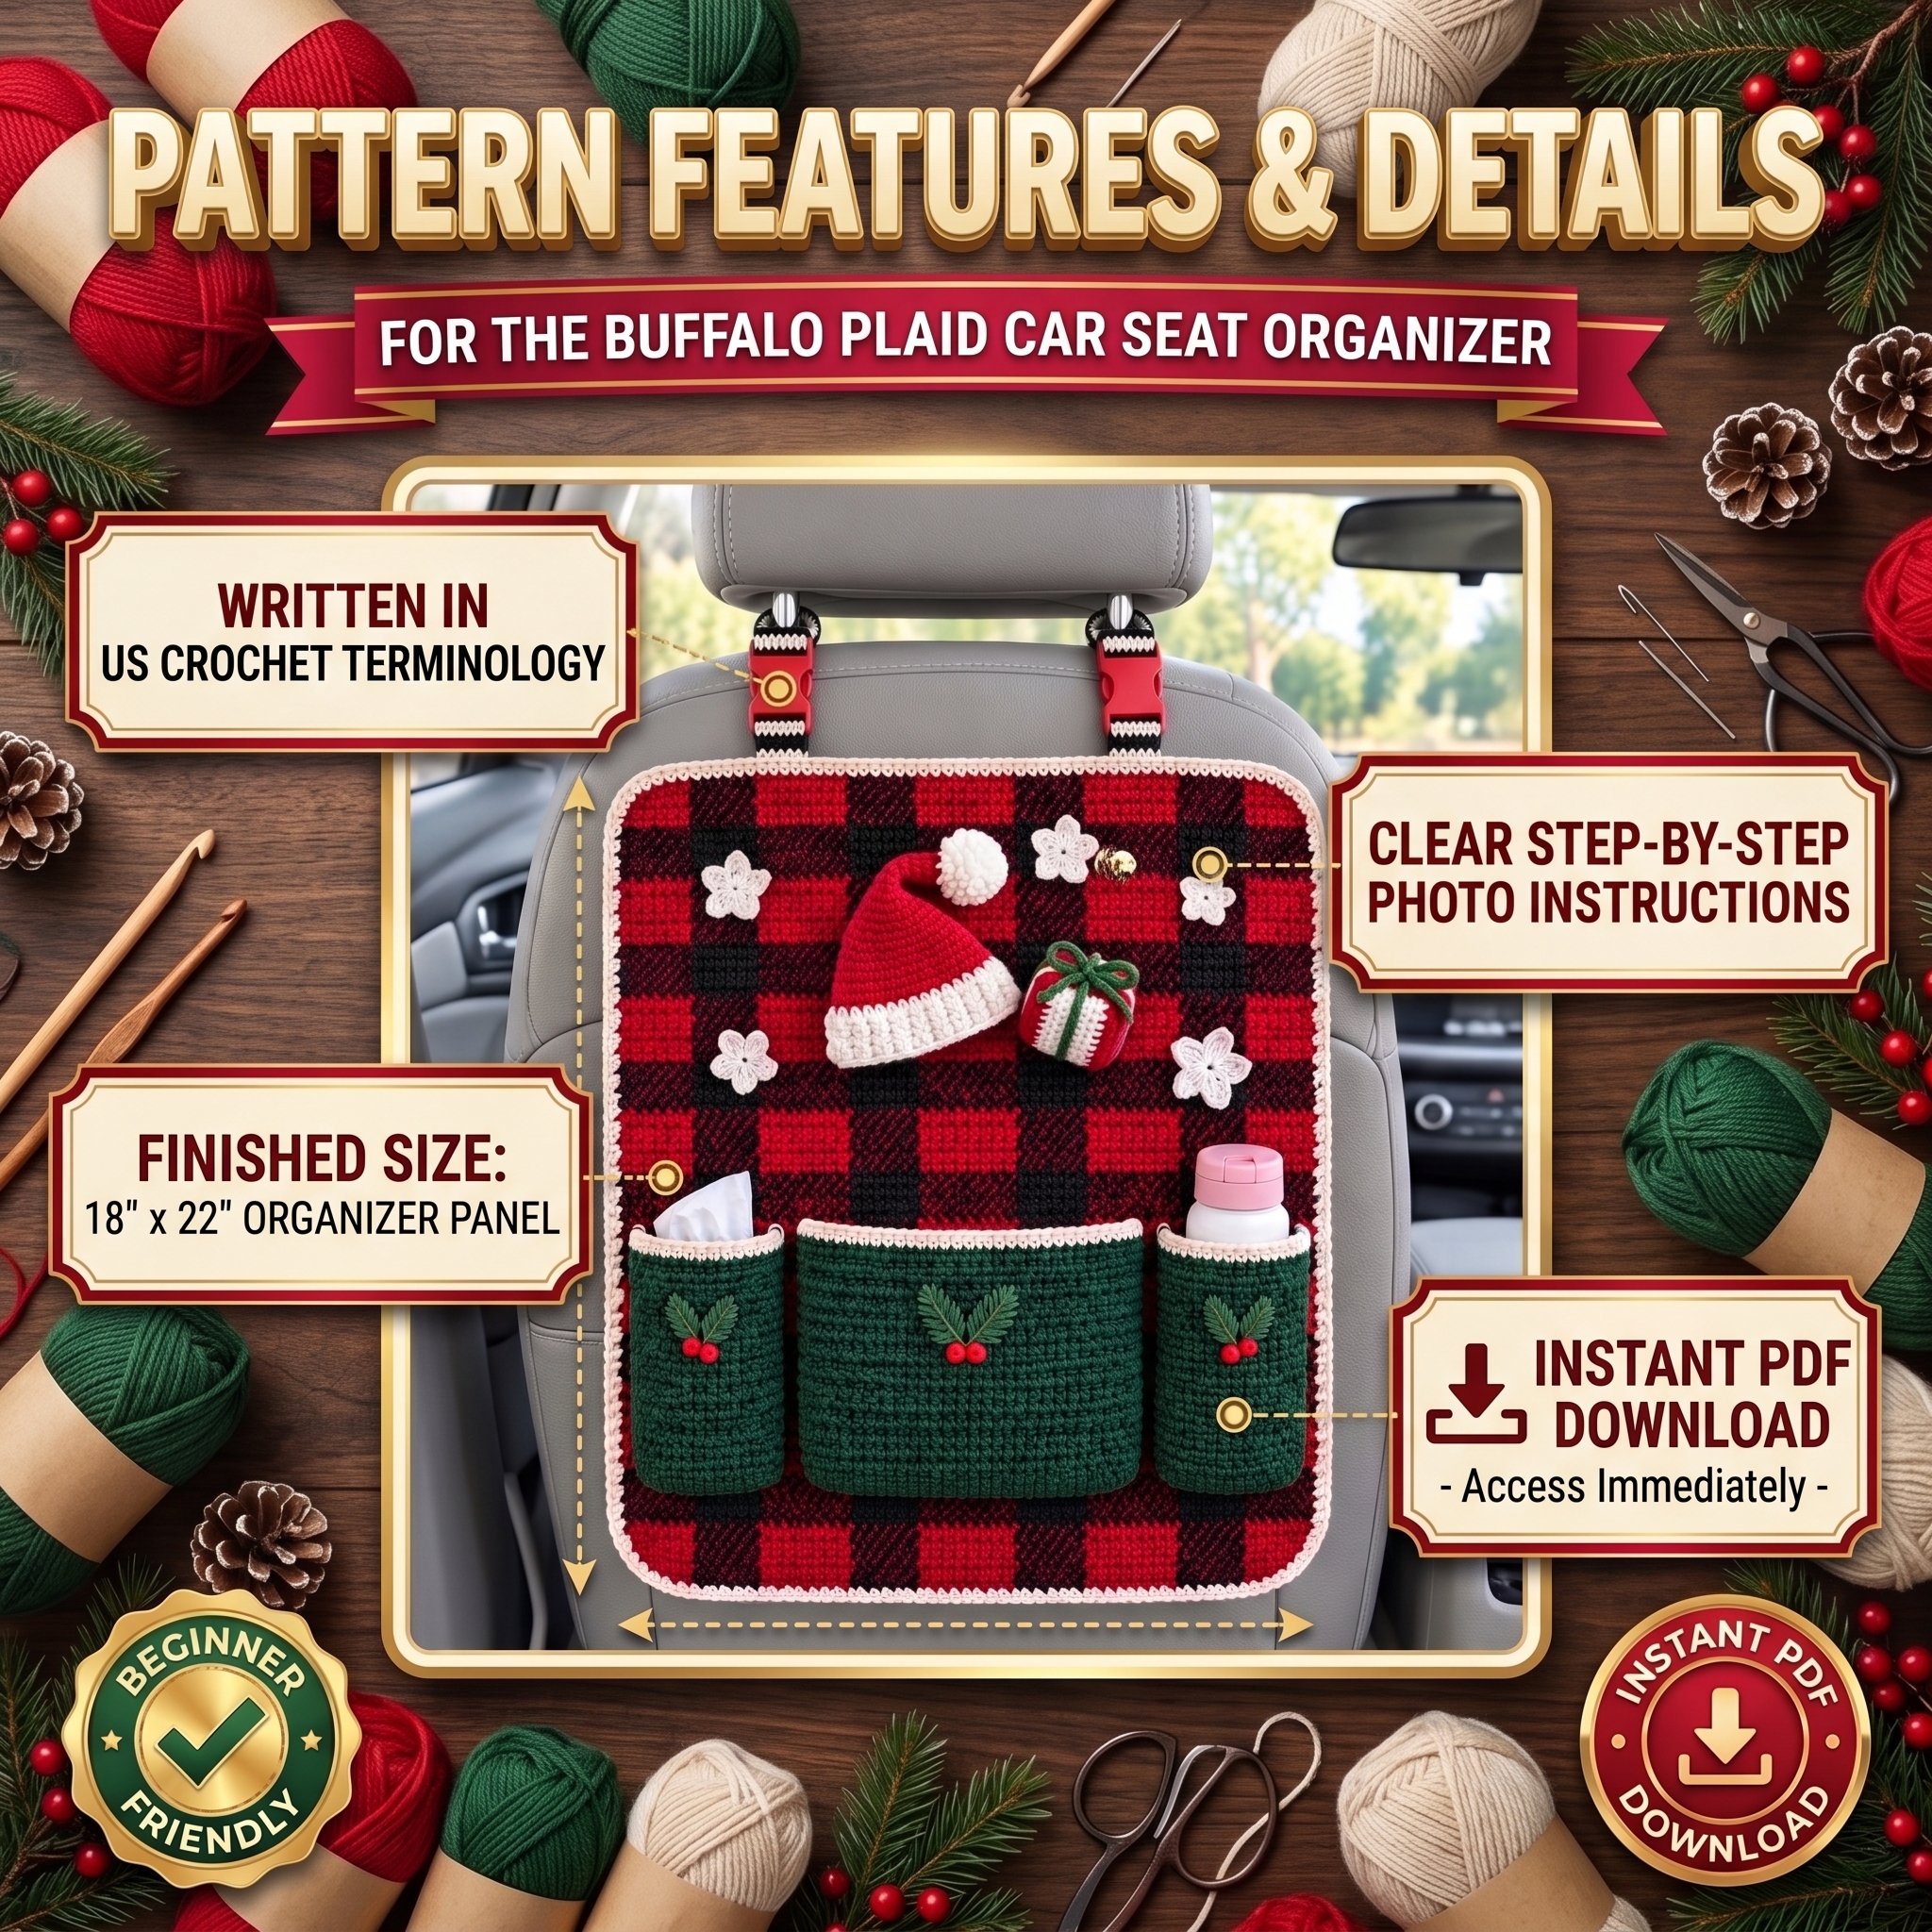
- ✔ 25-Page Detailed Guide: Clear step-by-step instructions (US Terms) with photo tutorials and placement charts.
- ✔ Festive & Practical: Features 3 roomy green pockets, secure side-release buckle straps, and cute holiday extras.
- ✔ Instant Access: Download your mobile-friendly PDF e-book immediately after purchase.
📥 Instant PDF Download – Start Crocheting Today!
Description
Buffalo Plaid Car Seat Organizer Crochet Pattern PDF – 25-Page Beginner Holiday Guide
Crochet car seat organizer season has arrived, and this buffalo plaid design is ready to tame your holiday road-trip chaos. Picture this: it’s the first week of December, the car smells like peppermint and wet mittens, and somewhere between the tissues, the water bottle, and a stray picture book, the back seat has become chaos.
Picture this: it’s the first week of December, the car smells like peppermint and wet mittens, and somewhere between the tissues, the water bottle, and a stray picture book, the back seat has become chaos. Now picture a bold red-and-black buffalo plaid organizer hanging from the headrest, with three roomy green pockets keeping everything within reach and a tiny Santa hat smiling from the corner.
That is exactly what this buffalo plaid crochet pattern helps you make. This crochet car seat organizer is a 25-page digital PDF with written row-by-row instructions, step-by-step photo guides, charts, and diagrams. It is a beginner holiday crochet PDF designed for anyone who is comfortable with single crochet and ready to try simple colorwork.
The Inspiration Behind This Festive Crochet Car Organizer
Holiday crochet usually lives on the tree, the mantel, or the front door. We wanted a project that earns its place in the part of December you actually spend on the road: school runs, shopping trips, visits to grandma’s house, and long winter drives. A backseat organizer is useful every single day, and a plaid one is simply cheerful.
Buffalo plaid was the obvious choice. It recalls flannel shirts, cabin blankets, and vintage Christmas cards, and it looks wonderful with forest green and cream.
The design is a clean, complete base organizer: a plaid panel, three pockets with cream trim, a cream border, and two removable buckle straps. The Santa hat, wrapped gift box, and crochet stars are optional holiday add-ons that you sew on only if you want the full Christmas look. Leave them off and you have a cozy organizer that works long after the holidays.
Why Buffalo Plaid Works So Well in Crochet
In this pattern, the plaid is a checkerboard of 2-inch blocks. Each block is 8 stitches wide and 9 rows tall, with nine blocks across and eleven up, for a finished panel of about 18 x 22 inches before the border.
You work in single crochet and carry the unused color along the top of your stitches, crocheting right over it. That gives you a thick, sturdy fabric, which is a real bonus for an organizer, and almost no ends to weave in. A plaid chart shows every block row, so you can see exactly where each color change belongs.
A Great Project for Confident Beginners
This pattern is written for the confident beginner: someone who can already single crochet comfortably and is ready for a first colorwork project. Everything is worked in US terms.
Skills You Will Practice
- Single crochet in rows, including working in the back loop only (BLO)
- Changing colors and carrying yarn for the plaid
- Magic ring, for the berries and optional stars
- Single crochet decrease (sc2tog), for the optional hat
- Reverse single crochet (crab stitch) for a neat, rope-like border
- Whip stitch assembly with a tapestry needle
What Makes It Approachable
- Instruction tables with three simple columns: row, instruction, and stitch count
- “Check your progress” boxes that tell you what each piece should measure
- A gauge swatch guide, so your plaid blocks come out about 2 x 2 inches
- Photo strips and diagrams for the trickiest steps, including pocket fitting and the strap buckles
We are honest about the learning curve. The color changes and the sewing take a little patience. Take your time, and the instructions will carry you through.
What’s Inside the 25-Page PDF
Materials and Getting Started
The pattern uses worsted weight (size 4) yarn, in smooth acrylic or a cotton blend, in five colors:
- Red: approx. 400 yards (plaid panel; also berries and the optional hat and gift)
- Black: approx. 330 yards (plaid panel and striped straps)
- Forest green: approx. 140 yards (all three pockets)
- Cream: approx. 130 yards (border, pocket trim, straps)
- Light green: under 20 yards (holly sprigs)
You will need a 5.0 mm (US H-8) hook, plus a 4.0 mm (US G-6) hook if you make the optional add-ons. The notions list covers stitch markers, a tapestry needle, two 1-inch side-release buckles, and 1-inch webbing to reinforce the straps.
Recommended yarn: A smooth worsted weight acrylic shows crisp plaid blocks, and it comes in true red, black, hunter green, and cream. Test the red for colorfastness before washing it near cream. [Insert Amazon Affiliate Link Here – Recommended Yarn Caron One Pound Soft Yarn for Crocheting & Knitting, Claret, 2-Pack
Measurements, Abbreviations, and Techniques
Pages 2 to 4 give you the gauge (16 single crochet and 18 rows to 4 inches), approximate finished sizes, a US abbreviation list, and plain-language explanations of each special technique.
Step-by-Step Parts
- Part 1: The main panel and the buffalo plaid chart
- Part 2: The three pockets
- Part 3: The cream pocket trim
- Part 4: Holly sprigs and berries
- Part 5: The cream border with a crab-stitch edge
- Part 6: The headrest straps, webbing, buckles, and a side-view diagram
Optional Holiday Add-ons
Part 7 covers the Santa hat, wrapped gift box, and crochet stars, worked separately with a 4.0 mm hook.
Assembly, Placement Charts, and Final Checklist
Three assembly sections walk you through sewing on the pockets, attaching the straps, and adding the optional decorations. An anchor table lists the exact stitch and row for each add-on, and a placement diagram shows where everything goes. A final checklist and photo guide help you finish with confidence.
Finished Size at a Glance
- Panel: about 18 x 22 inches (19 x 23 inches with border)
- Center pocket: worked 10 inches wide x 6 inches tall
- Side pockets: worked 6 inches wide x 7.1 inches tall
- Straps: long strap 1 x 17 inches, short tab 1 x 3.5 inches
- Add-ons: hat about 4.5 x 5 inches, gift box about 2.5 inches, stars about 2 inches
Safety and Everyday Use
Because this organizer hangs in a car, the pattern includes a safety note. Keep it from interfering with seat belts, airbags, or driver visibility, and keep heavy or hard items out of the pockets. The webbing and buckles carry the weight, never the crochet alone, and the pattern includes a “buckle flat, no twists” check before you stitch the straps in place.
Prefer a Ready-Made Organizer? Compare Your Options
Some readers want a sturdy store-bought organizer for daily use while they crochet, or a layout to compare. These are the kinds of organizers worth a look:
- Multi-pocket backseat organizer with a tablet holder: a good way to see how many pockets your family really needs. [Insert Amazon Affiliate Link Here
- – Recommended Car Seat Organizer #1 Helteko Backseat Car Organizer
- Compact organizer with bottle and tissue pockets: a close match to this pattern’s pocket layout. [Insert Amazon Affiliate Link Here
- – Recommended Car Seat Organizer #2 Backseat Car Organizer w/ 10 Storage Pockets 11″ Tablet Holder, 2 PCS Black
- Kick-mat style organizer: useful for protecting seat backs from muddy boots. [Insert Amazon Affiliate Link Here
- – Recommended Car Seat Organizer #3 Lusso Gear Backseat Car Organizer
The Joy of Handmade Holiday Car Decor
There is something special about a handmade piece in a place no one expects it. Every time you buckle in, there is a small bit of holiday warmth hanging in front of you. It also makes a thoughtful gift for a new driver, a busy parent, or a grandparent who drives the grandkids everywhere.
Assembly Tips for a Polished Finish
The pattern builds your organizer in a logical order, and following that order makes the sewing far easier. Work the plaid panel first, then the pockets, trim, and holly, then the cream border, and only then the straps and optional add-ons.
Work in the Right Order
- Finish the border before the straps. The border frames the panel and hides the edges, and the straps are stitched behind it.
- Decorate pockets while they are flat. Embroider the holly sprigs and sew on the berries before the pockets go onto the panel.
- Save the add-ons for last. The Santa hat, gift box, and stars are sewn onto the finished, bordered panel.
Sewing the Pockets
Each pocket is worked wider than its spot on purpose, so the extra width puffs forward into a roomy pouch. The pattern shows exactly where that extra fabric goes:
- Mark each spot with stitch markers first (the left, center, and right pockets each have their own stitch and row range).
- Pin the side edges on the marked lines, row for row, so the seams run straight.
- Pin the bottom center to the center of the spot, then the halfway points, so the bottom takes up the extra width in small, even tucks.
- Whip stitch the sides, then the bottom, and leave the top edge open.
If a corner puckers, unpick a few stitches and spread the tucks again. A dedicated diagram and photo strip in the PDF make this step easy to picture.
Straps and Buckles
The two straps loop around your headrest posts and click shut, so you can take the whole organizer off in seconds. A few tips for a clean result:
- Reinforce each strap with flat webbing, and finish the cut ends by folding and stitching them or using anti-fray liquid. Never use a lighter or open flame.
- Sew the straps to the back of the panel’s top edge, so the striped side shows above the top edge.
- Do the “buckle flat, no twists” check before final stitching. Run a finger from the panel up to the buckle and make sure the same face stays toward you.
- Hang the panel on your seat and click the buckles shut before you stitch. Measure your own headrest posts, because the pattern includes a simple table to adjust the long strap length.
Adding the Holiday Extras
The placement guide gives each add-on an exact stitch and row, so there is no guesswork. Mark the anchors with colored stitch markers (red for the hat, green for the gift, white for the stars), then sew everything on with a whip stitch. Place each star with one point facing up for a tidy, balanced look.
Customizing Your Colors
The red-and-black plaid is classic, but the design welcomes variations. If you swap colors, keep these tips in mind:
- Keep strong contrast between your two plaid colors so the blocks stay crisp.
- Choose a pocket color that stands out against both plaid colors.
- Test and swatch first. Dark and bright yarns can bleed, so test them for colorfastness before washing.
- Check your yardage. If you change yarn brands, compare the yardage so you do not run short.
Styling Your Car for the Holidays
A handmade organizer is a lovely starting point for a festive car. Here are a few ideas:
- Build a holiday kit. Fill the pockets with light, soft items such as tissues and hand wipes. Keep heavy or hard items out of the pockets.
- Coordinate your accents. Cream and forest green pair beautifully with plaid.
- Switch the add-ons by season. Leave the Santa hat, gift box, and stars on through December, then remove them in January for a plain plaid organizer.
- Make it a gift. A matching organizer makes a thoughtful present for a busy parent or a new driver.
Always make sure the organizer never interferes with seat belts, airbags, or driver visibility.
Caring for Your Handmade Crochet Organizer
Handmade pieces last longer with gentle care. Always follow the care label on your yarn first, and treat these tips as general guidance:
- Spot clean first. A damp cloth and mild soap handle most spills.
- Hand wash when needed. Use cool water and mild soap, press out the water instead of wringing, and lay the organizer flat to dry.
- Remove hardware first when you can. Take off buckles and any buttons before washing.
- Wash red yarn on its own the first time to avoid color transfer onto the cream.
- Store flat or hung. Keep it out of direct heat in the car when it is not in use.
Who This Pattern Suits Best
This pattern is a wonderful fit if you:
- Know single crochet and want a first colorwork project
- Love practical projects you can use every day
- Enjoy seasonal crochet gifts
- Like clear photos, tables, and diagrams to follow
If you have never crocheted before, a few simple practice projects first will help. The plaid color changes and assembly are easier with some experience.
Frequently Asked Questions
Can I sell items I make from this pattern?
Yes. The pattern’s copyright page welcomes you to sell your own finished, handmade items. Please do not copy, share, or resell the PDF itself.
Do I have to make the Santa hat, gift box, and stars?
No. They are optional holiday add-ons. The organizer is complete without them.
What if my headrest posts are a different distance apart?
Measure your own posts and adjust the strap placement. The pattern also explains how to change the long strap length.
Is this a physical product or a PDF?
It is an instant digital PDF download, so you can start crocheting right away.
The Mindful Joy of Crafting
Beyond the finished organizer, there is something special about the process. Many crocheters find that the steady rhythm of stitching helps them slow down, breathe, and enjoy a quiet moment, especially in a busy holiday season. Watching the plaid take shape, one 2-inch block at a time, is satisfying. And you end up with something useful that carries your effort into every drive.
What to Crochet Next
Once you finish your plaid organizer, keep the momentum going with more projects from our shop:
- Explore our exclusive 5-Pattern Crochet Bundle for a collection of projects to stitch next. [Insert Link Here – 5-Pattern Crochet Bundle]
- Ready for even more? Our ultimate 10-Pattern Crochet Bundle gives you a bigger library of projects to enjoy all year. [Insert Link Here – 10-Pattern Crochet Bundle]
Ready to Start Your Buffalo Plaid Crochet Organizer?
We hope this guide has inspired you to make your car a little cozier this season. Your 25-page Buffalo Plaid Car Seat Organizer Crochet Pattern PDF includes everything you need: written instructions, photo guides, charts, and diagrams. Add it to your cart, enjoy your instant PDF download, and cast on today.
Happy crocheting, and happy holidays from all of us at Mushtaq DigitalPro.com.
Related products
-
Sale!

Rectangle Crochet Basket Pattern (2 Sizes) – Beginner Friendly Storage Basket PDF Pattern
Original price was: $4.99.$3.74Current price is: $3.74. -
Sale!

Crochet Heart Basket Pattern PDF – Beginner Friendly Crochet Storage Basket Tutorial
Original price was: $4.99.$3.74Current price is: $3.74. -
Sale!

Scalloped Crochet Basket Pattern | Beginner Friendly Storage Organizer | Bulky Yarn DIY Tutorial, Rustic Basket Pattern
Original price was: $4.99.$3.74Current price is: $3.74. -
Sale!

Crochet Bathroom Basket Pattern PDF – 3 Sizes Crochet Storage Basket Pattern | Beginner Friendly Crochet Organizer
Original price was: $4.99.$3.74Current price is: $3.74.
Reviews
There are no reviews yet.